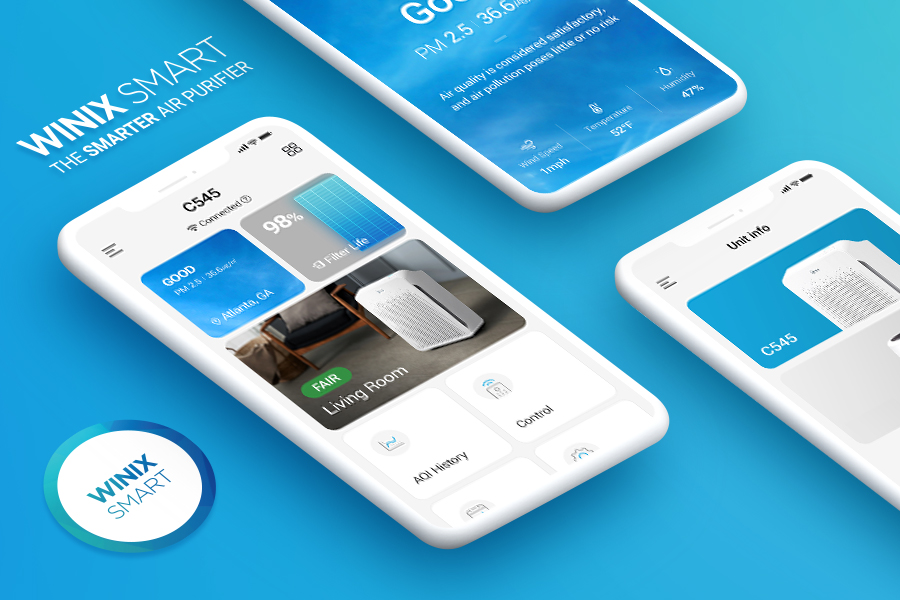
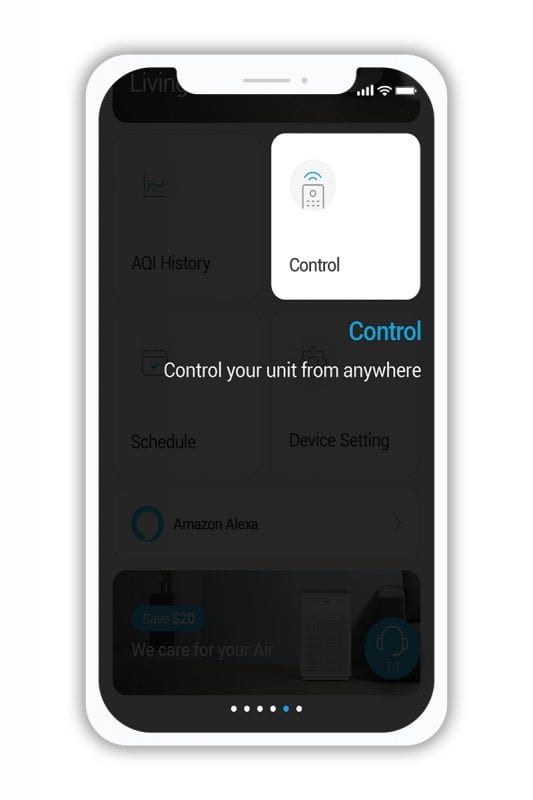
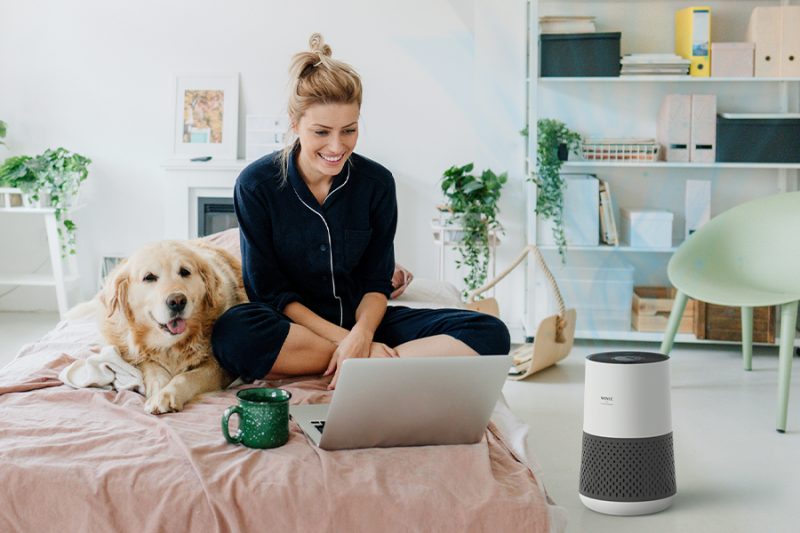
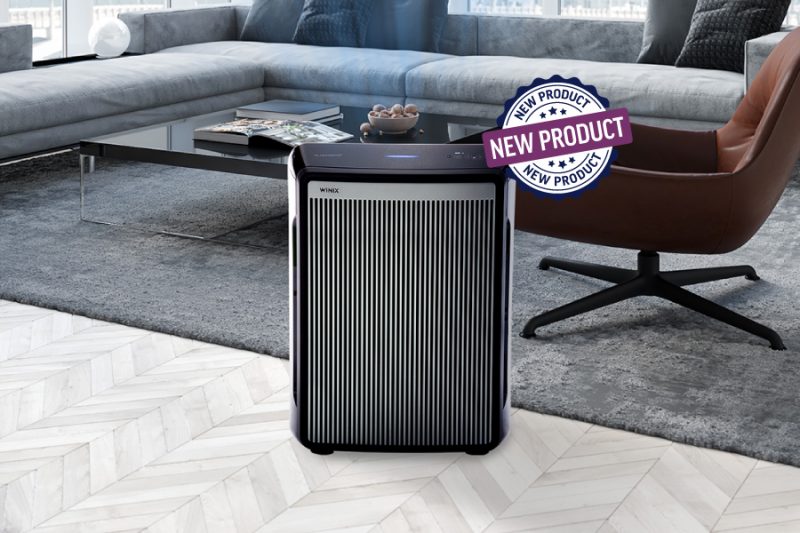
If you are ready to take your air quality to another level then the Winix Smart App is for you.
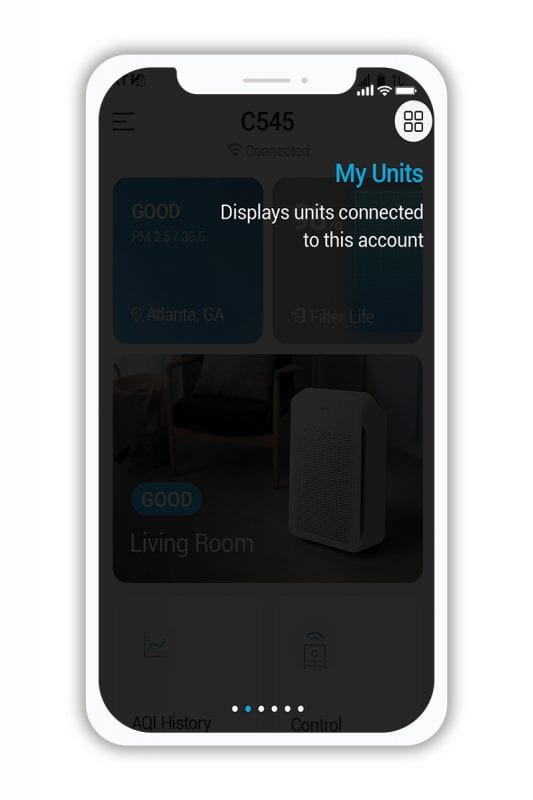
Connecting your air purifier to Winix Smart allows you to Track, Monitor, Control, and Maintain with ease. Whether you want instructions on how to connect or get troubleshooting guidance, you’re in the right place!
Initial Connection
If you are ready to connect your unit for the first time, feel free to watch this set up video or follow the connection steps below:
Before you begin, make sure you have a wireless router that is 2.4Ghz and a Smartphone that is:
*Latest Phone Operating System requirements are subject to change based on future phone technology and app version updates.
Other Requirements Before you Begin:
A Wi-Fi wireless router must be installed within range of the air purifier to use WINIX SMART.
Make sure to disable any VPN networks before connecting your unit.
Ensure Wi-Fi router matches the following specifications; 802.11b/g/n 2.4GHZ or for a dual-band wireless router (2.4GHz/5GHz), be sure to select 2.4GHz.
Be sure to have the Wi-Fi password handy.
During registration, please keep the air purifier, wireless router, and smart device within a 32 ft. radius.
Obstacles between the air purifier, wireless router, and smart device may cause weak reception.
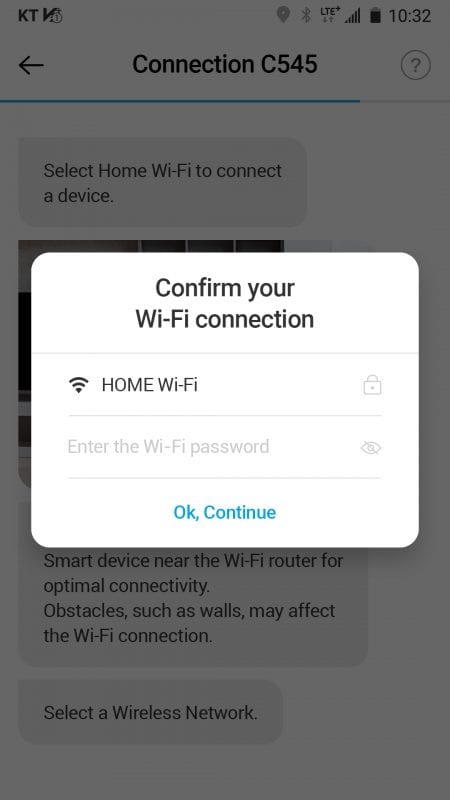
Once your environment is ready, turn on your unit and follow these steps below:
If you do not see the code in your junk or spam folder, go to email settings and allow no-reply@winixinc.com in your safe or trusted senders list
If this does not work, we recommend that you contact your email hosting provider and ask if your email is set up to receive emails from Amazon AWS (amazonses.com)
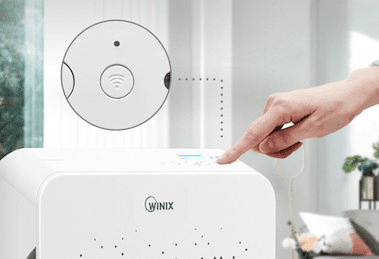
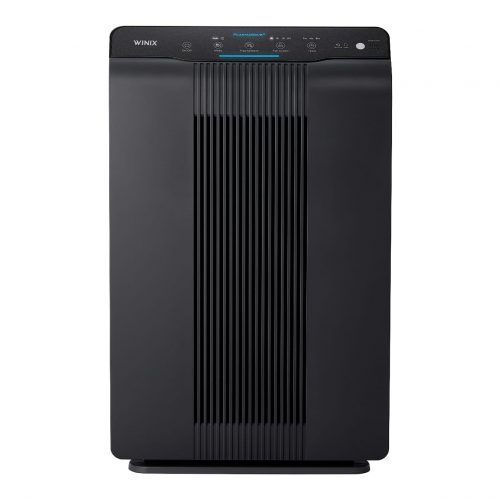
While your unit is turned on, press and hold the Wi-Fi Button for 3-5 seconds until it beeps and starts flashing.
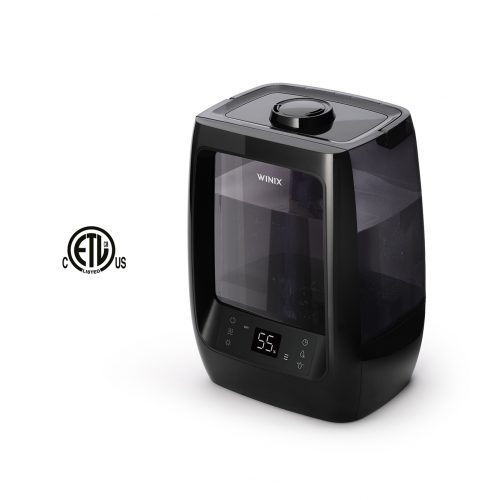
For Winix models AM90, XQ, HR1000, NK105, and T1, while the Wi-Fi light is off, Press the Wi-Fi button once so it beeps and starts blinking. While the Wi-Fi light is blinking, press and hold the Wi-Fi button for 3-5 seconds until you hear a beep. Once you hear the beep, then go into your Wi-Fi network settings in your phone and look for the WINIX SMART network.
After you have done this click the next button at the bottom of the screen.
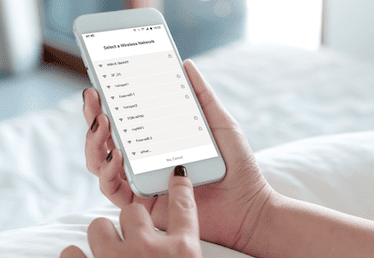
You’ll then need to go into your phone’s Wi-Fi settings and connect to the Winix Smart Network.
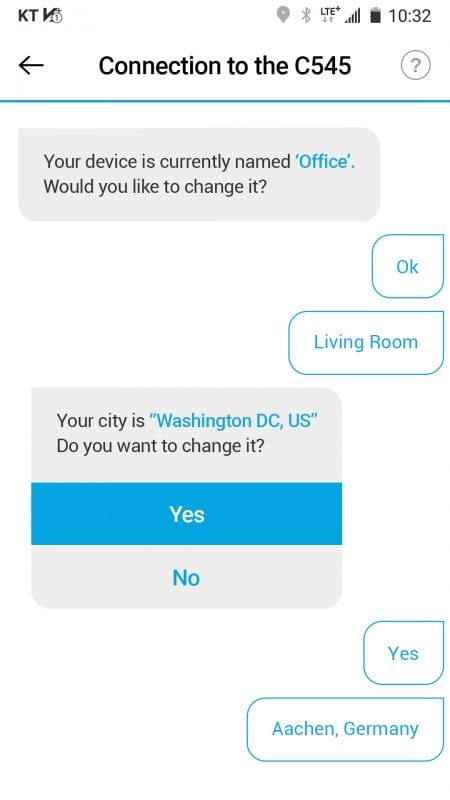
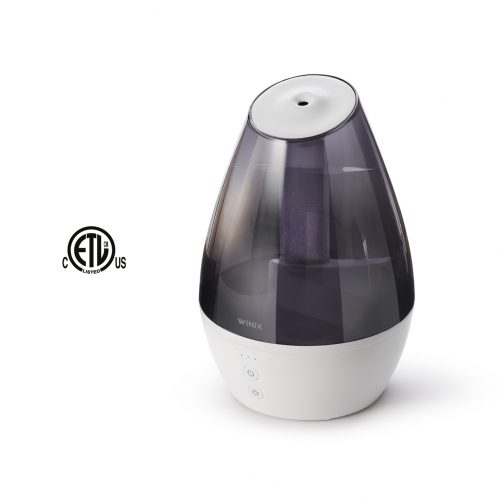
If you have a Winix C545, your Winx Smart Signal will have a unique six digit code at the end (Ex: WINIX SMART ******).
If you have an AM90, XQ, HR1000, NK105, or T1, your Winix Smart Signal will just say WINIX SMART.
Once you’ve connected, return to the Winix Smart App and select “Next” at the bottom of the screen.
For Android users, after you press and hold the Wi-Fi button, click the next button on the bottom of the screen to connect your unit to your device.
Once the Winix Smart signal is detected, select “Connect” from the pop-up on your screen.
For iOS users, after you press and hold the Wi-Fi button for 3-5 seconds until it beeps and starts flashing, go into your settings and look for your unit’s network: “WINIX SMART ******” (For the C545, there will be a string of numbers and letters right after).
If you can not find the Winix Smart signal please make sure you are pressing the Wi-Fi button until you hear a beep and the unit light starts flashing.
During difficulties connecting to Wi-Fi on Android, go to “Advanced Network” and disable the “Smart Network Switch” or “Switch to Mobile Data” before you try connecting your product again (once connected, you may re-enable this function).
Make sure to disable any VPN networks before connecting your unit.
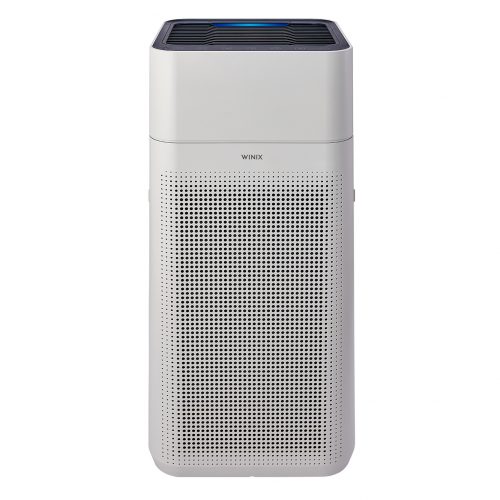
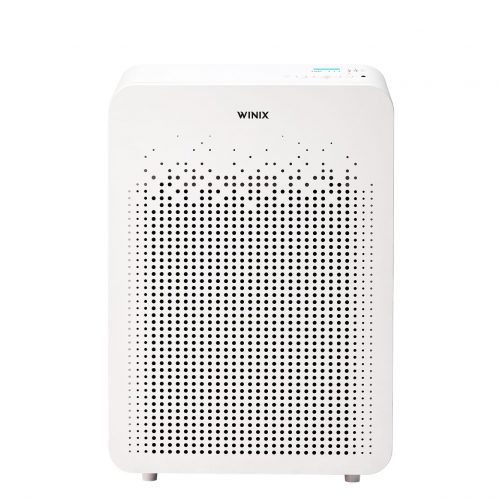
First check if you have chosen the correct product during the product selection process. Different products may share the same design. Model names can be found on product labels and in product manuals.
Please check the Wi-Fi router password.
Check if there are any changes to the router configurations.
Make sure the router is on a 2.4Ghz bandwidth.
Please press the Wi-Fi button for 3-5 seconds to confirm whether the product is in pairing mode (upon entering pairing mode, it might take some time for the Wi-Fi SSID to be displayed, depending on your radio wave environment).
During difficulties connecting to Wi-Fi on Android, go to “Advanced Network” and disable the “Smart Network Switch” or “Switch to Mobile Data” before you try connecting your product again (once connected, you may re-enable this function).
The product supports the configuration of a common personal wireless Wi-Fi router. Advanced configurations are not supported (for example: Requires static IP allocation of products, Disable DHCP router setting, Enterprise security access, Other security, etc.)
This pop up means there is an issue with your WiFi router. If your Wi-Fi router password has changed since connecting, then you will need to go through the re-connecting process from the beginning to set up your unit again.
Poor internet connections or network errors can occur occasionally due to delays caused by mobile carriers or Internet service providers (ISPs). Please wait a while and then try again.
If the Wi-Fi router was relocated during use, the connection might have been lost because of a poor Wi-Fi router signal. Please check the network connection status of the product.
Check if your Wi-Fi router has a stable connection and is working with other devices. Make sure the router is on a 2.4Ghz bandwidth. The Winix Smart App will not be compatible with 5Ghz routers.
When this occurs, have the app open on your phone and hold it next to the unit. Then press the Wi-Fi button once (do not hold the Wi-Fi button, press only once) and wait for the app to connect back to the unit. It will take the unit 30 – 60 seconds to re-connect to the app. You will know when it’s reconnected by when the app shows “connected” on top of the main screen and when the Wi-Fi light on the unit is lit solid.
Please check with the product’s Wi-Fi LED status to see if the product is properly connected to the wireless Wi-Fi router. If the Wi-Fi LED light is flashing or not on at all, then the unit has lost connection.
Check if your Wi-Fi router has a stable connection and is working with other devices.
Poor internet connections or network errors can occur occasionally due to delays caused by mobile carriers or Internet service providers (ISPs). Please wait a while and then try again.
If the Wi-Fi router was relocated during use, the connection might have been lost because of a poor Wi-Fi router signal. Please check the network connection status of the product.
The WINIX SMART APP may have permission requests to access your phone location and media when it is first launched. Depending on whether you provide permission, services may be unavailable or limited.
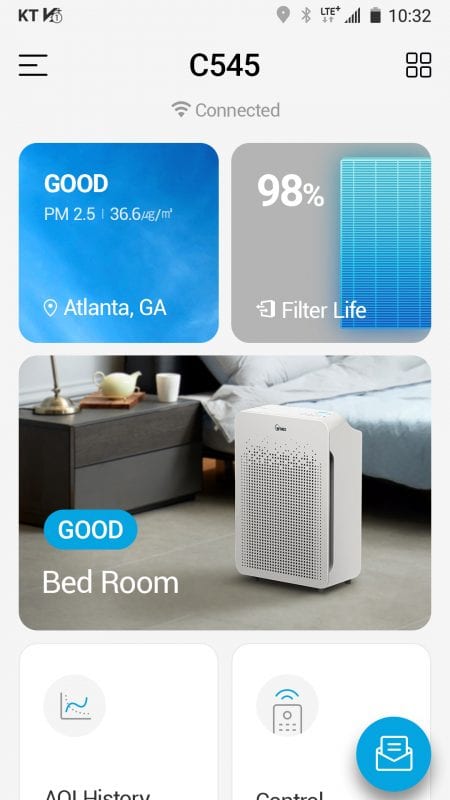
Depending on your product model, the firmware of the APP and product may only allow certain app functions. For example the Winix XQ will have Four Air Quality Levels and the Winix AM90 will have the Amazon DRS Function.
Make sure you set the unit to turn on first, then set the fan speed or mode you want for the specific time period.
Check to make sure you are using the correct time zone. The Scheduler operates within the same time zone that you set your city location to in the app.
Use the dropdown list provided during the set up process. These names are fixed because they are set up to work with Alexa.
If you would like to change the name of a unit you are already connected to, then go into Settings from the main page and select “Room Name” to change it.